Kamis, November 10, 2011

CARA MENGINSTAL WINDOWS VISTA


  1. Siapkan CD or DVD Window Vista
  2. Set boot pertama menjadi CD atau DVD
WINDOWS SECARA OTOMATIS AKAN BERJALAN.
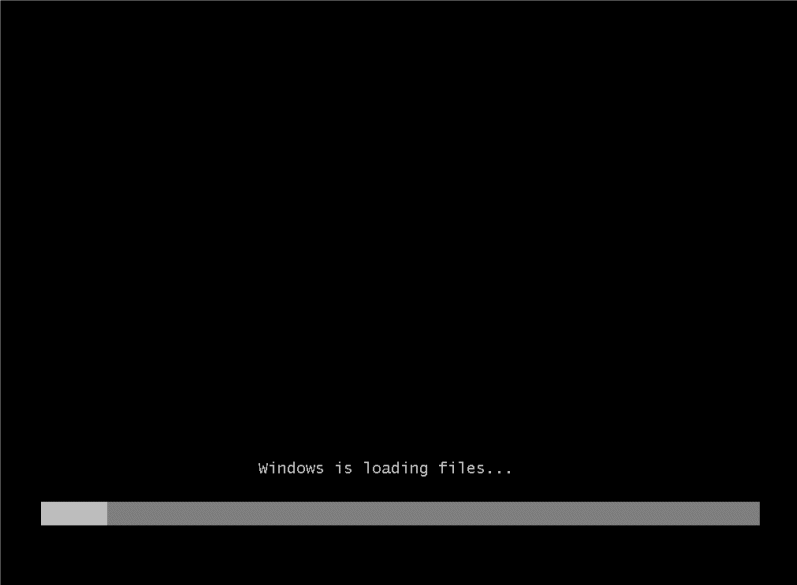
WINDOWS VISATA SEDANG MEMUAT FILE
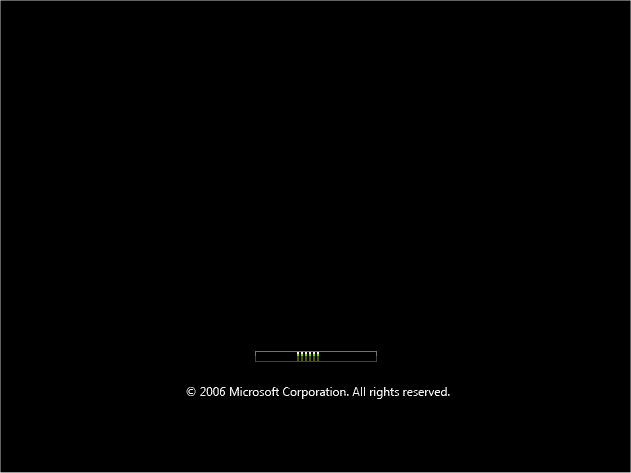

PILIH BAHASA
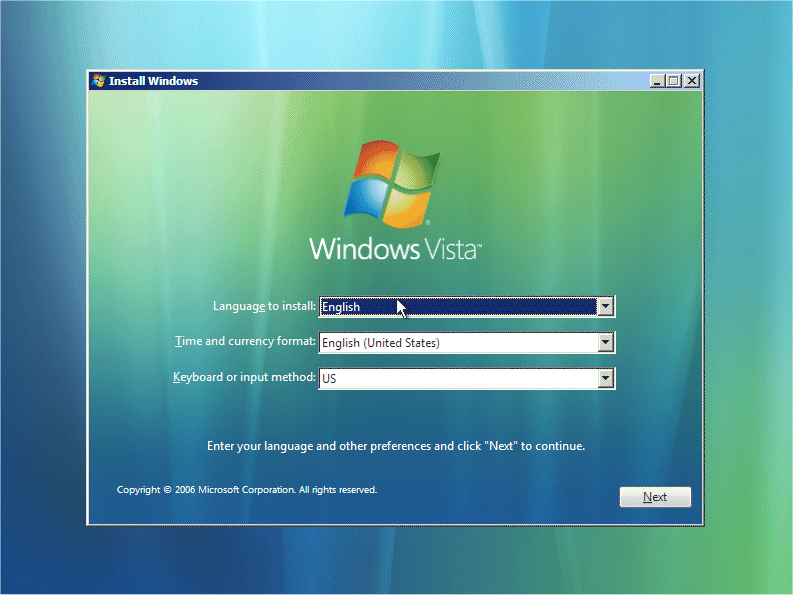
LALU TEKAN NEXT

SETINGAN DI BUAT DEFAULT AJA DI ATAS CUMAN CONTOH! TEKAN NEXT

TEKAN NEXT TUK MELANJUTKAN MENGINSTAL

KLIK KIRI DENGAN MOUSE 1X PADA INSTAL NOW


This section is the collecting information part. First you will need your Windows “Product Key”. This will be on the disk packaging provided with your CD’s/DVD’s. The product key will be 25 digits long and will contain letters and numbers.

CEKLIST PADA AUTOMATCALLY ACTIVATE WINDOWS WHEN I’M ONLINE DIHILANGKAN LALU TEKAN NEXT DENGAN MOUSE

MASUKKAN PRODUC KEY

BERI CEKLIST  DENGAN KLIK KIRI 1X DENGAN MOUSE DI I ACCEPT THE LINCES TERMS LALU KILIK NEXT

Now you will asked the type of installation you wish to do. Click on “Custom” to continue.

SETELAH TAMPIL GAMBAR DI ATAS PILIH  COSTUM ADVANCED

To setup the harddrive, click on “NEW”
Select the amount of size you wish to use and click on “APPLY”.
It will take a few moments to apply the settings.
Once done, click on “FORMAT” to format the drive.

You will receive a warning, click “OK” to continue, as all info will be permanently deleted.

Windows is now formating the drive, this may take a few moments so be patient.

Once done click on “NEXT” to continue.


This section is for installing Windows, it will take sometime and does not require any input from you, so go make a cup of tea or watch TV as it may take up to an hour. Make sure there are no disks in your floppy drive, as the computer will reboot a few times during this process.
Windows now copies files:

Windows expands the files:

Windows is installing features:

Windows is installing updates:
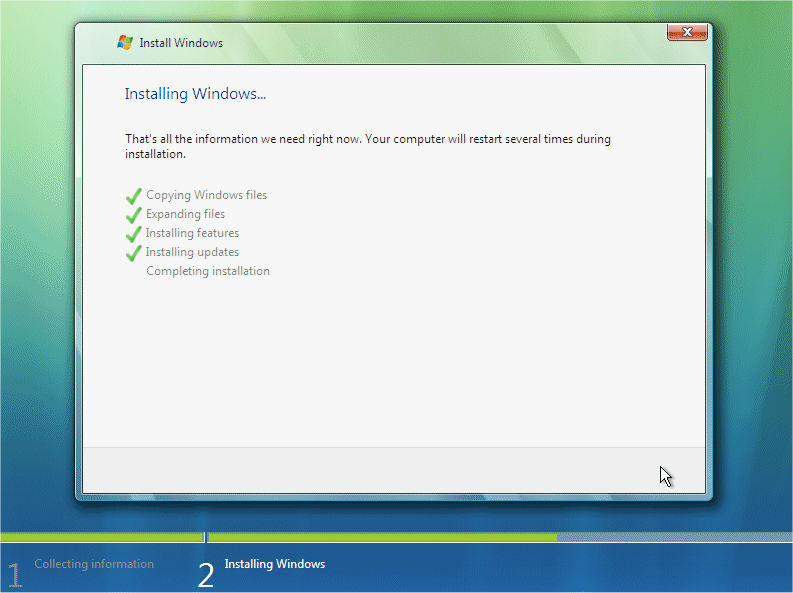
Windows is doing a restart: It will do this automatically if you are not about, otherwise you can click “Restart Now” to speedthings up slightly.

The computer reboots:

If you get this message then you have left the a floppy disk in the floppy drive or your harddrive is not in the BIOS boot sequence correctly. Remove disk or fix BIOS then press “Any Key” to continue.

You may also get this message “Press any key to boot from CD or DVD..”, do not press and key and allow this to pass.
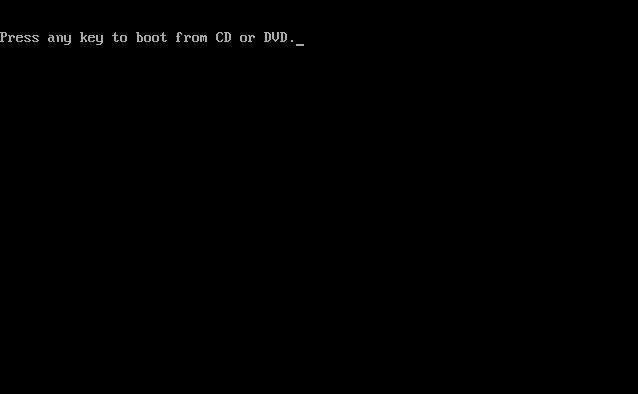
Windows continues Loading:

Windows is now booting for the first time, don’t be fooled there could still be a few reboots and quite a bit of installing to go.
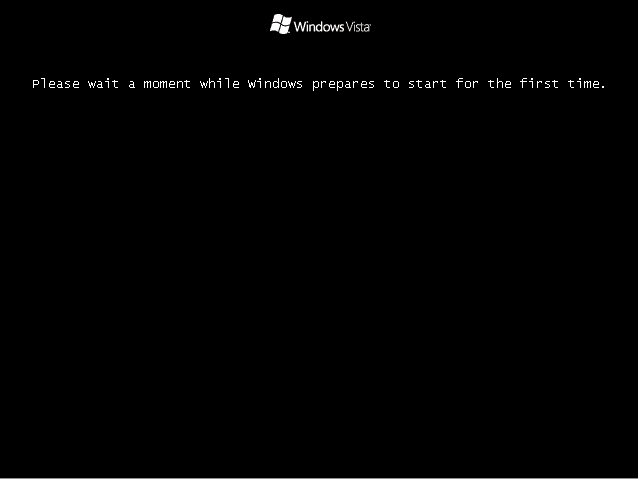
Windows continues to install:
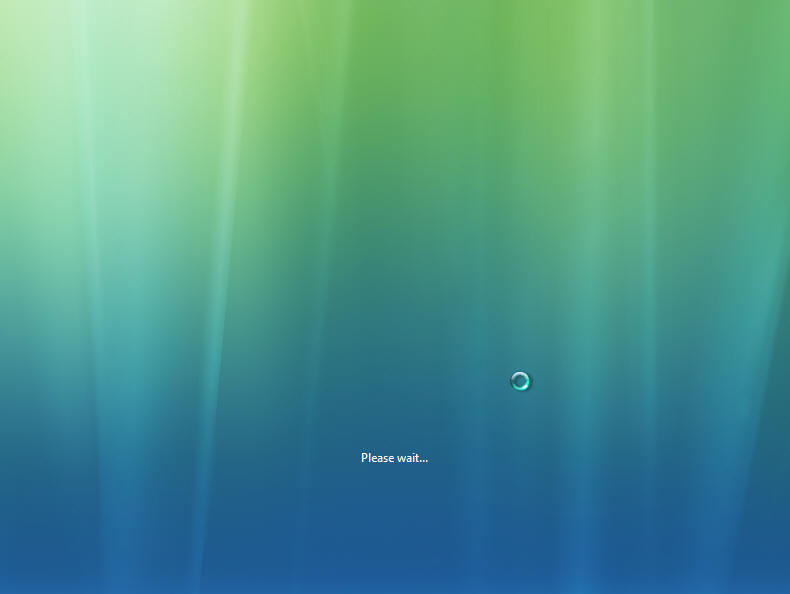
Windows does more updating and installing:
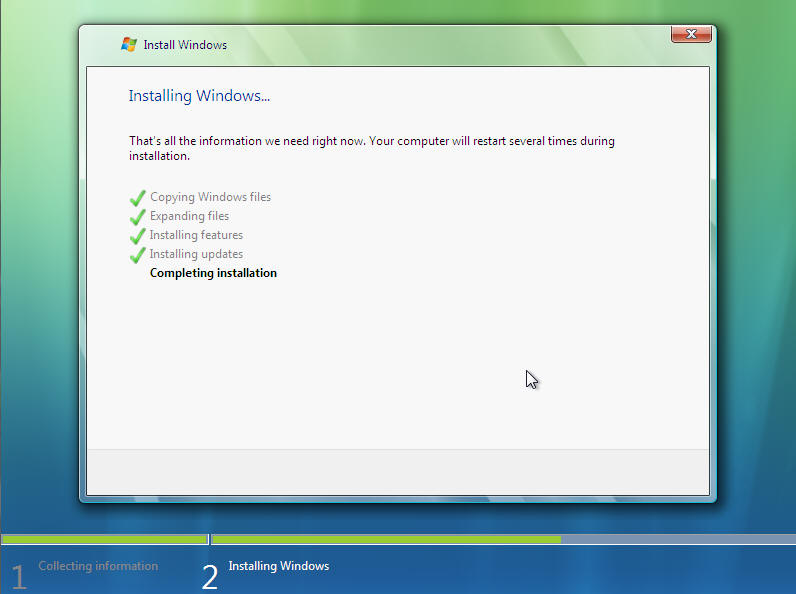
Windows reboots a few more times:
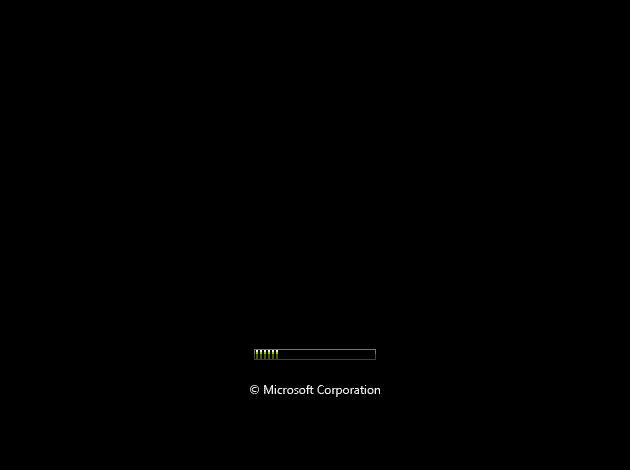
and then finally:
Something to do.
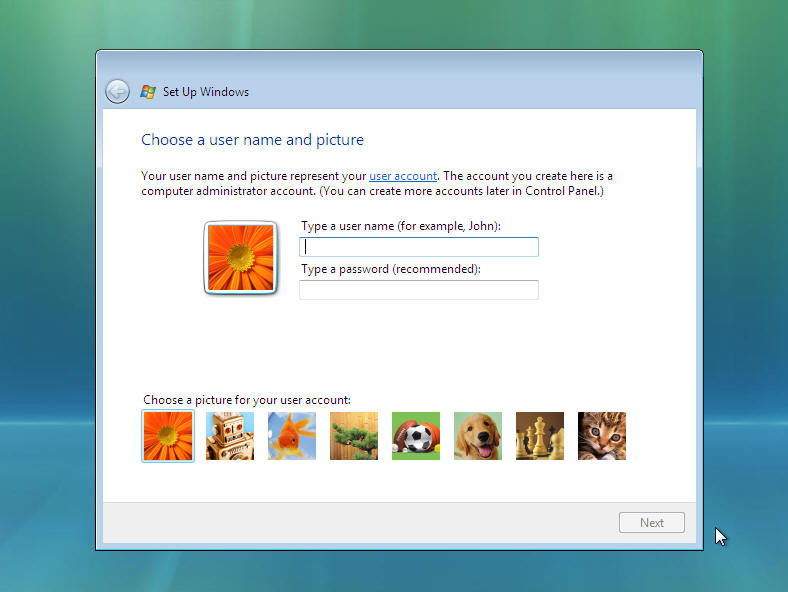
Next Input your Username for the computers Administrator account. Then Click on Password.
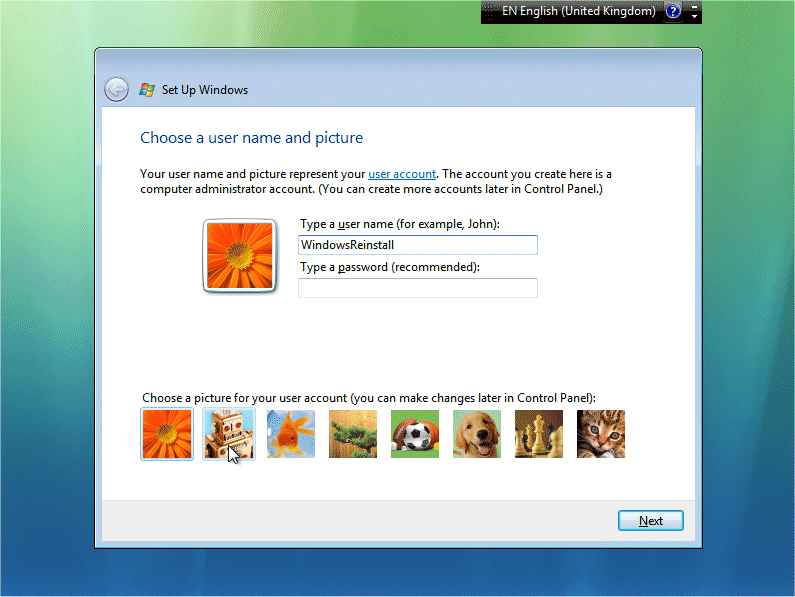
Now input your password (One you will remember) and then retype the password to confirm. Also type in a password hint that would help you remember it just in case. You may also change the default local login image by clicking on a different picture.
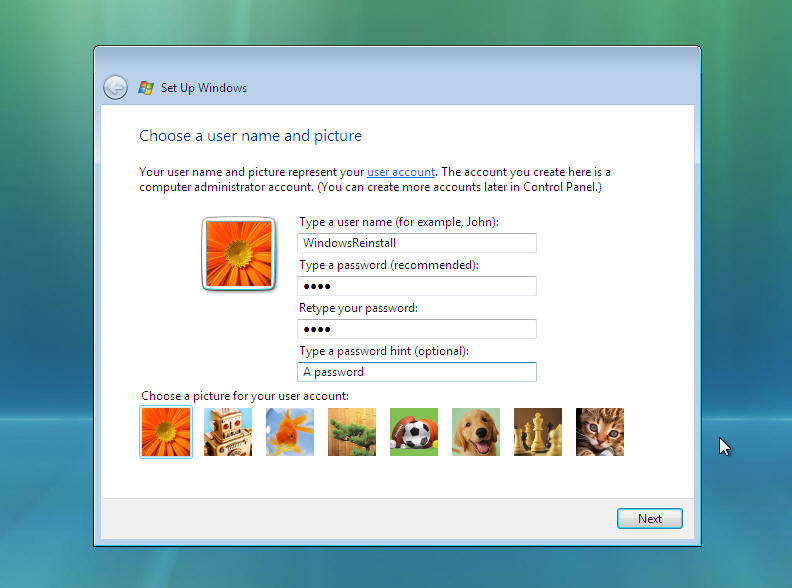
If you change the image it will change as per below. Once done click “NEXT” to continue.

Now choose a computer name (Mainly used for ID on a network), and select a different background image if you wish.
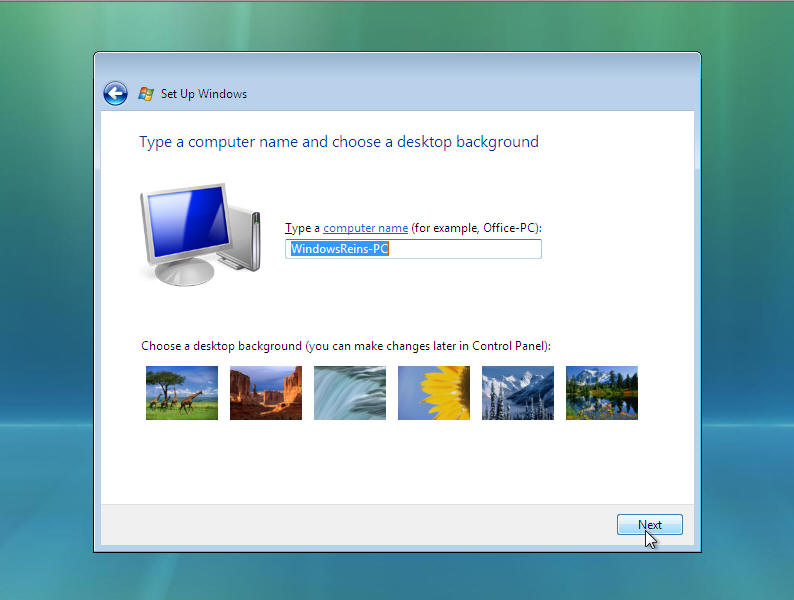
If you change the background it will change as per below. Click “NEXT” to continue.
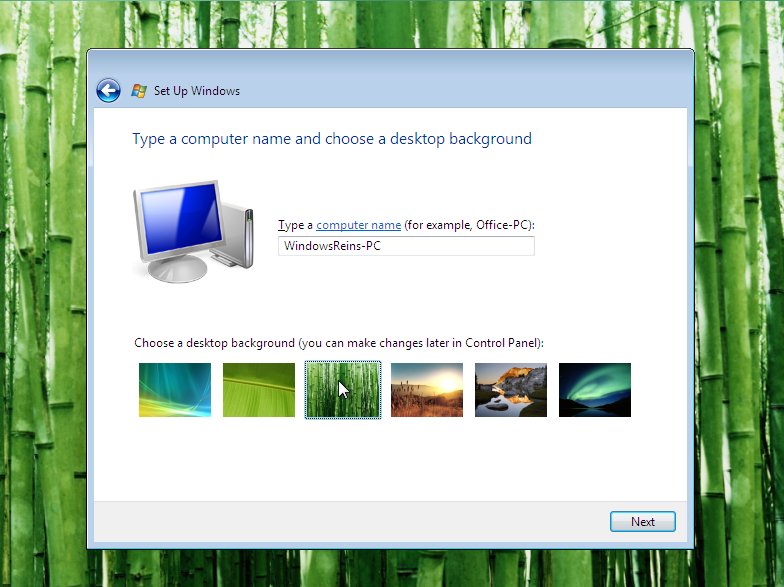
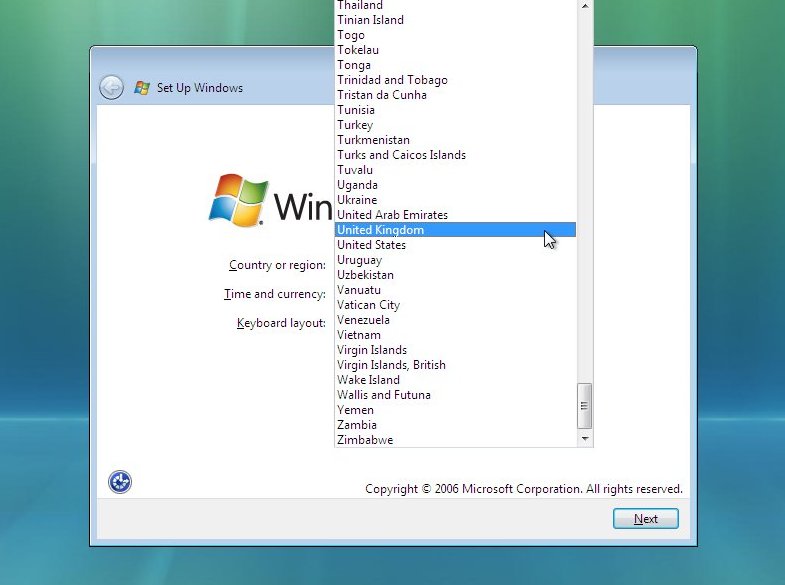
Next you need to check the time zone is correct and also the time and date. Time and date in from the BIOS, but “Time Zone” needs to be set, it will defaulted to the most common language location used by your default language as set earlier. Click the “Down arrow” at the end of the box.
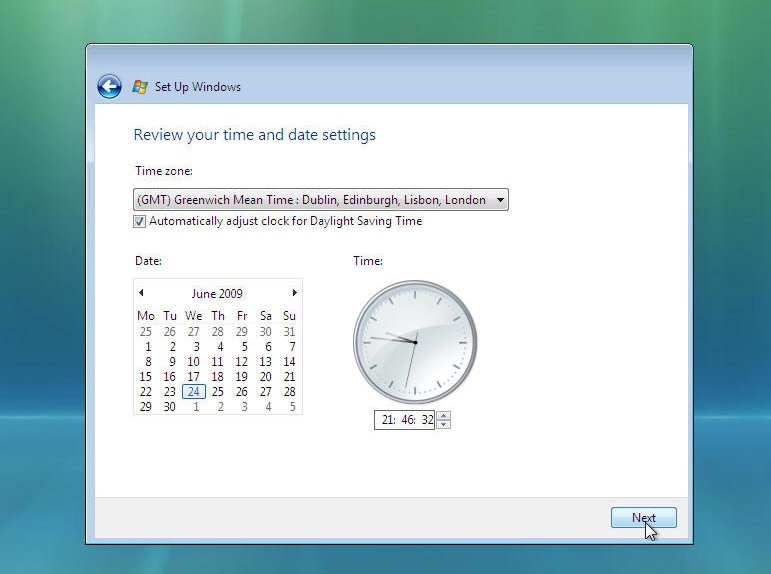
Now select your “Time Zone”. Once you are happy with your selection click on “NEXT” to continue
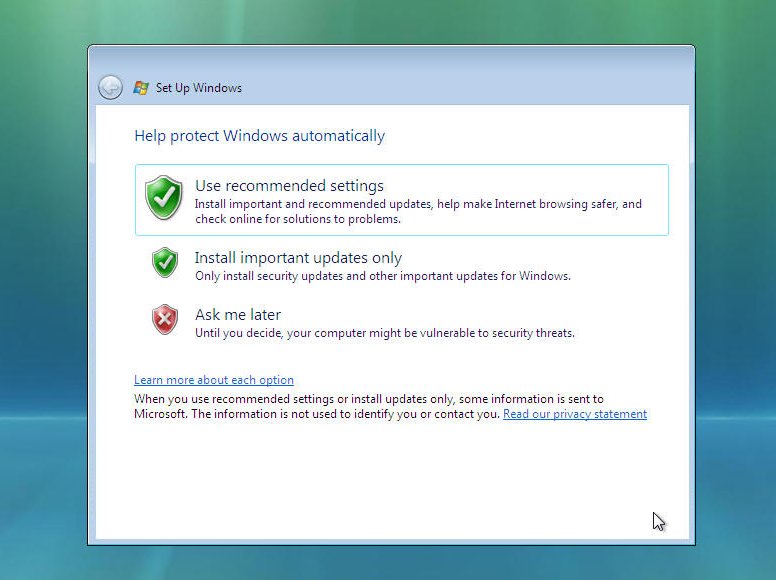
Now select your Windows protection method. We recommend the top option “Use Recommended settings”, click on your selection to continue.
That is all the information gathered that is needed, Windows Install will thank you, click on “START” to continue….
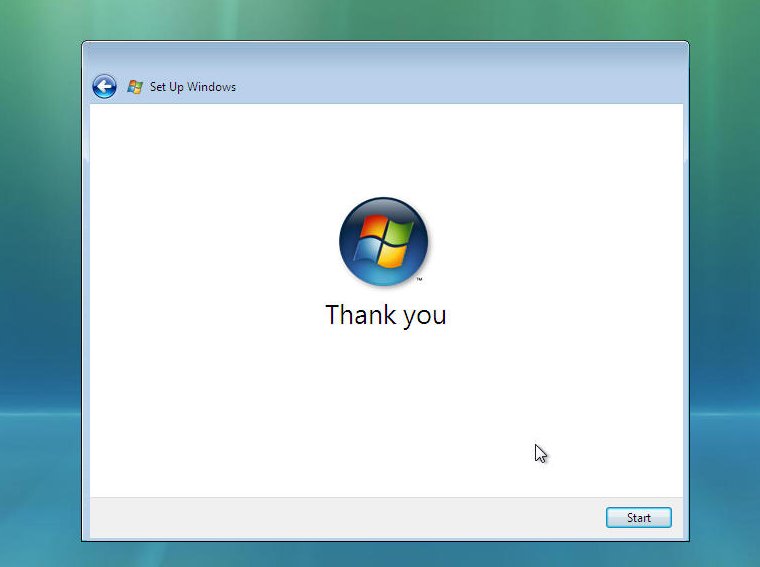
and begin to load.
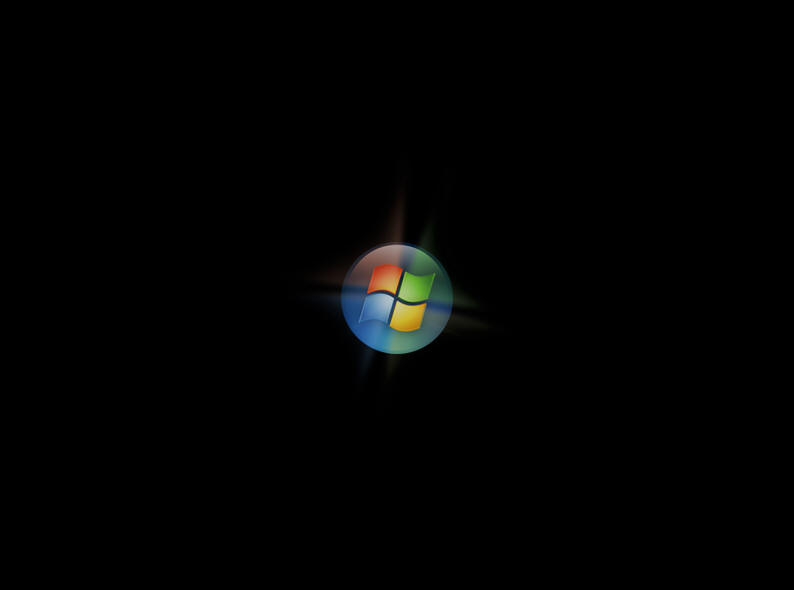
and load….
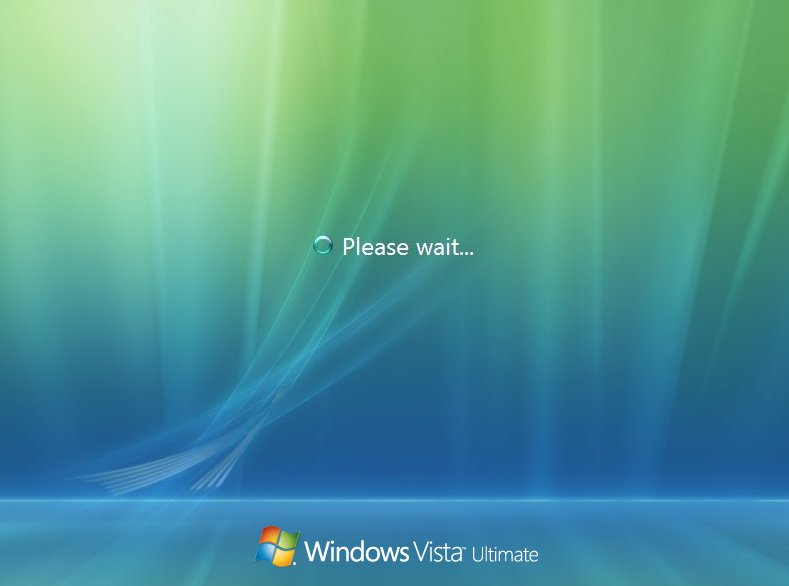
Now the Windows “LOGIN” screen. Type in your password and click on the arrow (Or press “ENTER”) to continue.
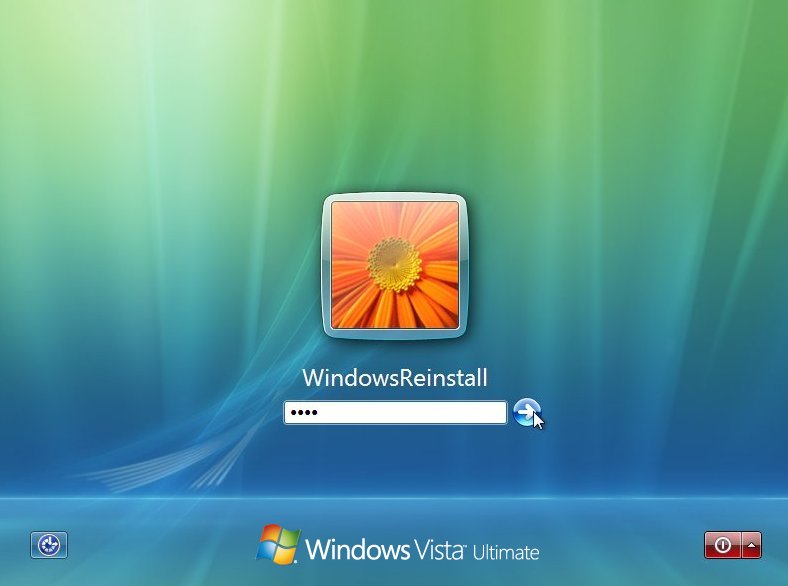
Windows “WELCOMES” you….
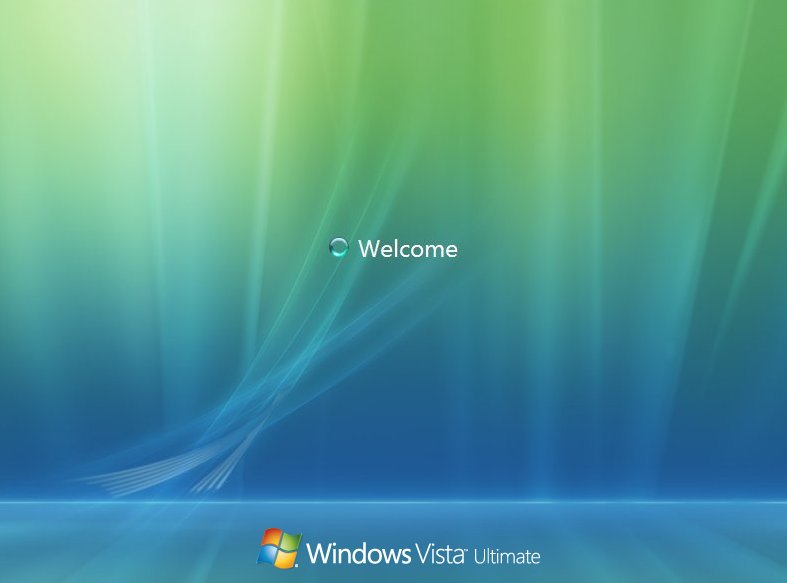
Windows now “PREPARES THE DESKTOP”
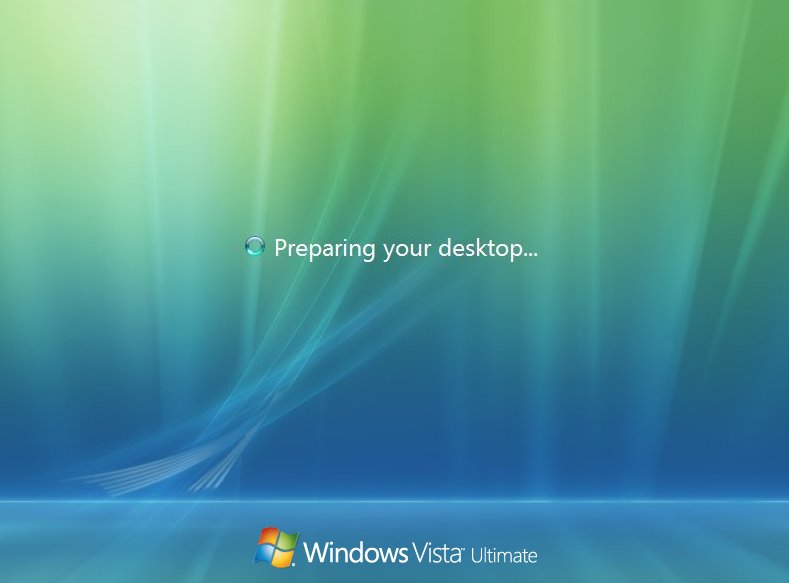
Windows desktop appears and the stages of the install begin.
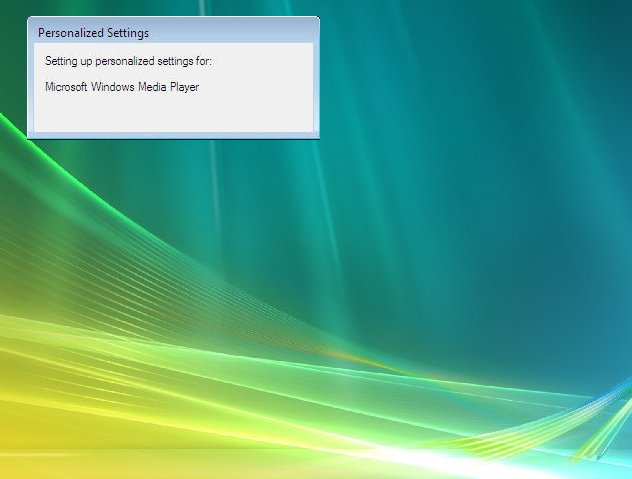
Several personalised settings will be installed.
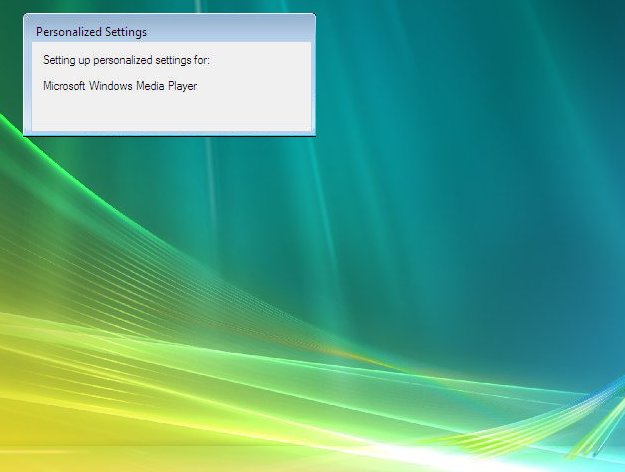
The desktop will soon appear.
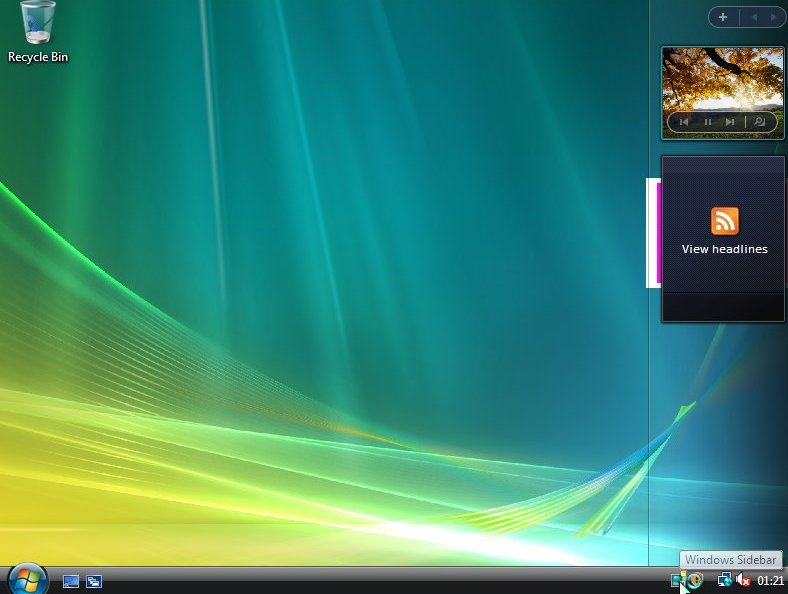
It is time to check your drivers and install all other software that you will require.
TIP: Usually running “Windows Update” will install most if not all missing drivers

0 komentar:

Posting Komentar

Jangan lupa kasih komennya : }

Posting Lebih Baru Posting Lama Beranda
  1. Panduan membuat Blog
  2. Cara setting blog di blogger
  3. Cara Custom Domain di Blogger / blogspot
  4. Cara Mengganti Template di blogspot
  5. Cara memposting artikel
  6. buat Read more pada template klasik
  7. Cara membuat Text Area
  8. Cara membuat menu dropDown
  9. cara Upload foto
  10. Cara membuat Link(1)
  11. Cara membuat Link(2)
  12. Cara membuat marquee (text berjalan)
  13. Cara membuat efek Refresh
  14. Kode HTML tampil pada postingan
  15. Masalah posting artikel
  16. Simbol Yahoo! Emoticons
  17. Simbol Blogger Emoticons
  18. Cara Pasang jam
  19. Cara membuat banner animasi
  20. Cara membuat buku tamu
  21. HTML Tutorial
  22. Free Download
  23. Foto animasi
  24. Cara pasang Statistik & Tracker
  25. Perlunya IE dan FireFox
  26. Cara pasang musik
  27. Logo & Button
  28. Membuat Menu D Tree (menu mirip pada windows explorer)
  29. HTML Tutorial(2)
  30. Membuat Read more pada template baru
  31. User Online status
  32. Cara membuat blogroll Alternatif
  33. Cara pasang gambar
  34. Cara membuat Icon YM
  35. cara pasang Video
  36. Daftar Mybloglog
  37. Membuat Navigasi dengan CSS
  38. Template baru VS template Klasik
  39. Membuat Penggalan Artikel
  40. Membuat Link Untuk Download
  41. Menu Dropdown dengan JavaScript
  42. Menu Dropdown dengan JavaScript (2)
  43. Cara Membuat Favicon
  44. Pasang Recent Comments
  45. Text Berjalan di Bar menu
  46. Rotating banner
  47. Cara membuat kategori (label)
  48. Read more versi baru
  49. Pasang Link di New Blogger Template
  50. Cara Pasang Feed di Blog
  51. Pasang Banner di Header Blog
  52. Membuat Banner Bertaburan
  53. Tips Menghilangkan Border Image
  54. Cara membuat Navigasi Dengan Css (2)
  55. Mengatur Perataan Posting Artikel
  56. Tips Mengganti Background Blog
  57. Pasang Image pada judul Artikel
  58. Membuat link satu halaman
  59. Photo profile berbingkai
  60. Photo profile berbingkai
  61. Gambar berbingkai
  62. Image dalam kode marquee
  63. Pasang kode tuker link
  64. Cara daftar search engine
  65. Cepat terindeks di google
  66. Pasang Kalender
  67. Hilangkan garis bawah Link
  68. Ubah Warna Link
  69. Pelacak IP Address
  70. Pasang Jadwal Sholat
  71. Mengubah lebar kolom template
  72. Daftar Google Sitemap
  73. Daftar Feedburner
  74. Pasang Snaps Shots
  75. membuat navbar
  76. pasang label cloud
  77. Membuat tulisan bergaya koran
  78. horizontal dropdown menu
  79. membuat marquee text dalam gambar
  80. Marquee dengan Javascript
  81. Siapa yang pasang link ke blog kita
  82. Kotak komentar dengan haloscan
  83. Cara membuat daftar isi blog
  84. Cara menghilangkan Subcribe to
  85. Tips menambah kolom pada template baru
  86. Setting Widget Mybloglog
  87. membuat kursor animasi
  88. Download Mini Icon
  89. Menyisipkan Mini icon pada label
  90. Lebih jauh mengenai Read more
  91. Cara menghilangkan navbar Blogger
  92. Cara membuat frame iklan
  93. Cara mengganti warna sidebar pada template minima
  94. menyisipkan Icon pada View Profile
  95. Baca feed melalui Google Reader
  96. Cara Upload data ke Google Page Creator
  97. Cara membuat ONLINE BOOKMARK
  98. mengenal perintah Iframe
  99. Cara menampilakan karakter khusus
  100. tutorial software HTML Color V.1.4
  101. Cara pasang search engine di blog
  102. Membuat sidebar ada di kiri dan kanan
  103. Tutorial software scott box shot maker
  104. Menambah emoticons di shoutbox
  105. Tips membuat multi kolom
  106. Cara membuat tabel di blog
  107. Horizontal tab menu j
  108. Horiontal tab menu 10
  109. POp up generator
  110. Backup blog secara Online
  111. Atasi error widget harus unik
  112. Backup data dalam widget
  113. Pasang fasilitas print
  114. Trik mudah membuat Read more
  115. Pasang google talk di blog
  116. Pasang feed dalam kode marquee
  117. Pasang yahoo messenger (2)
  118. Pasang google talk di blog (2)
  119. Hilangkan angka dalam label
  120. Tips Search Engine Optimization (SEO)
  121. Pasang Game di blog
  122. Free CSS menu tabs 6
  123. Setor muka via gravatar
  124. membuat gambar thumbnail
  125. Read more sejajar dengan posting
  126. Pasang tombol digg
  127. Drop down menu sama lebar
  128. Drop down menu dengan CSS
  129. membuat daftar isi (2)
  130. Pasang widget post terbaru dan komentar terbaru
  131. pasang yahoo emoticon (2)
  132. install assteg emoticon ke post editor
  133. membuat background posting berbeda-beda
  134. Pasang iklan google adsense di bawah posting
  135. Pasang iklan kliksaya.com di bawah read more
  136. cara membagi dua kolom header
  137. Install Emoticon More-smilies Cosa aranda ke Editor Posting
  138. Buat Tulisan bergaya web 2.0 secara Online
  139. Ziddu - free file hosting
  140. Tutorial navigasi : Dynamic-FX Slide-In menu
  141. Free Logo Maker
  142. Cara Membuat Favicon (2)
  143. Atasi error copy paste kode wordpress
  144. fitur-fitur baru dari Blogger.com
  145. Setting komentar di bawah posting
  146. Kotak Komentar di bawah Posting
  147. membuat efek Photo Blur
  148. Mengubah Lebar Arsip Dropdown
  149. Cara mengcopy gambar di layar monitor
  150. menyimpan widget di bawah header
  151. Cara membuat elemen Persis di bawah header
  152. Mengatur Tampilan Judul Sidebar
  153. Google Docs : pasang data excel di blog
  154. Mengatur tampilan judul posting
  155. Widget baru mybloglog
  156. fitur baru blogger
  157. Membuat warna link berkedip
  158. Cara Modifikasi Kotak Komentar
  159. Revisi: Cara Modifikasi Kotak Komentar
  160. Alternatif Warna Kotak Komentar
  161. Memilah Milah Komentar
  162. Zoom Efek Dengan Script Fancy Zoom
  163. Cara membuat Contact form / Kontak Kami
  164. Elemen Halaman Mempunyai Fungsi Scroll
  165. Tips Menghilangkan Pesan Pencarian Blogger
  166. Membuat Read more Plus Judul Artikel
  167. Membuat Sidebar Dalam Kotak-Kotak Terpisah
  168. Free Template : Magazine Template 2
  169. Tanya Jawab seputar Template magazine 2
  170. Menghilangkan Icon Obeng dan Tang / Quick edit Blogger
  171. Tanya Jawab Seputar Template Magazine 1
  172. Pasang Skrip Alert Di Blog
  173. Pasang Google Toolbar
  174. Free Icon Untuk Blog Dan Website
  175. Asyik Ngeblog Bersama Windows Live Writer
  176. Tanya Jawab Seputar Windows Live Writer (WLW)
  177. Buat Kolom Diatas Kolom Posting Pada Magazine template 2
  178. Buat Kolom Dibawah Header Pada Magazine Template 2
  179. Blog Pertama Kang Rohman
  180. Free html dan PHP Editor
  181. Apa sih Alexa Rank atau Peringkat Alexa Itu?
  182. Tutorial Pasang Widget Alexa di Blog
  183. Tips Meningkatkan Alexa Rank
  184. Apa Sih Situs Social Bookmarking Network Itu?
  185. Solusi Mengatasi Kotak Komentar Yang bermasalah
  186. Tutorial Membuat Horizontal Navigasi

FREEDOM PALESTINE


Follow Me

bLOGGER

Sitemeter

Statistik

Arsip Blog

http://www.geocities.ws/edwinheryansyah/edwin/animasi/pgri.gif